Online Radio Equipment by Station Type: The Right Kit for Your Station
If you’ve been thinking about starting an online radio station for your church, your school, your neighborhood or your own DJ sets, the gear question usually comes first. Search for online radio equipment and you’ll find long lists of microphones, mixers and studio gear, much of it built for professional studios. The reality is simpler: what you need depends on the kind of station you run and the way you broadcast.
A church streaming its Sunday service has a different problem to solve than a school club with new student hosts every week. A community station needs room for guests and callers, while a DJ broadcasting from home cares most about the music. Buying the same kit for all four would mean paying for gear you don’t use and missing the piece you actually need.
In this guide, we start with the four basics every internet radio station shares. Then we walk through a ready-made kit for each type of station: what to get, how the pieces connect and what to upgrade first. We close with a quick comparison and the steps to connect your setup to Zeno so you can go live.
What Every Online Radio Station Needs First
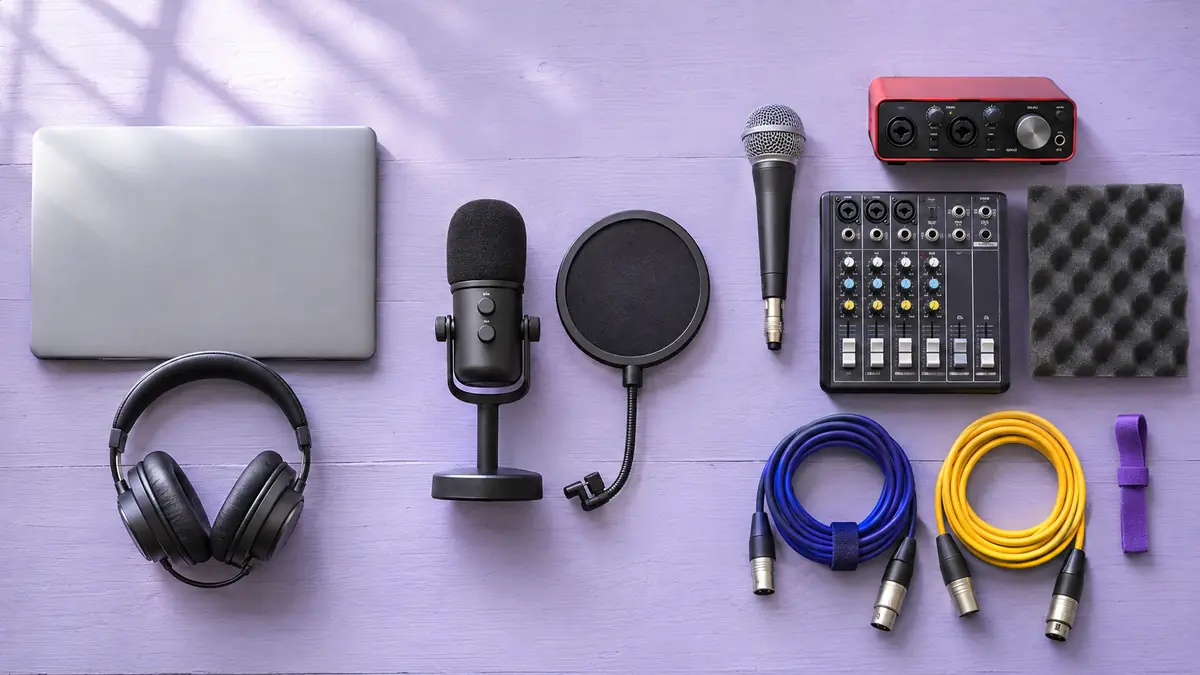
Before you think about microphones or mixers, it helps to understand the path your sound takes. Your voice or your music goes into a computer, a piece of software turns it into a stream, and a streaming platform delivers that stream to everyone who presses play. Whatever the format of your station, these four pieces make that path possible:
- A computer. Any reasonably modern laptop or desktop works. If you can, give the station its own machine, so updates, notifications and other apps don’t interrupt a live show.
- Closed-back headphones. You need to hear exactly what goes out to listeners, and closed-back headphones keep that sound from leaking back into the microphone.
- A stable internet connection. A wired Ethernet cable is more reliable than Wi-Fi for a live broadcast. Stability matters more than raw speed.
- An encoder and a streaming platform. Encoder software such as BUTT or Mixxx sends your audio to Zeno, and Zeno delivers it to your listeners.
In practice, this is already enough to put a music station on air with AutoDJ, which plays your music and playlists when nobody is live. Everything that follows in this guide is about adding what each type of station needs on top of that base: voices, guests, callers and better sound quality. For a closer look at how each piece of gear works, see our guide to home studio gear for radio broadcasting.
Church Radio: Capture the Service, Not Just One Voice
Church radio usually starts with a simple goal: bringing the Sunday service, prayer meetings and special events to members who can’t attend in person, whether they’re sick, traveling or living abroad. Unlike a talk show, a service already has its own sound system, and that changes the kit. Instead of placing new microphones around the sanctuary, you capture the mix your sound team already makes.
- An audio interface with line inputs. It takes the signal from the sound board and brings it into the computer. Listeners hear the same mix as the congregation: preacher, choir and band.
- One dynamic XLR microphone for announcements, devotionals and programs recorded outside the service.
- A dedicated computer in the sound booth that stays connected, so volunteers don’t have to set everything up again each week.
- Headphones for the volunteer on duty, who keeps an ear on the stream while the service runs.
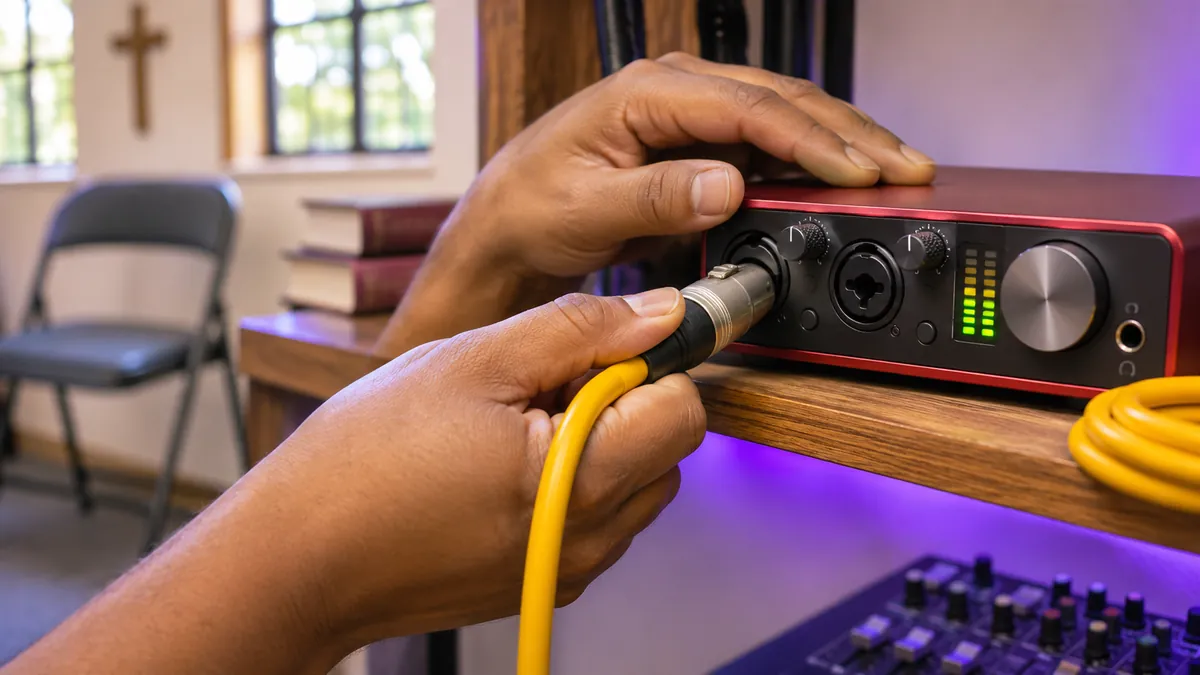
How it connects: Run a cable from an auxiliary or record output on the sound board into the line inputs of your audio interface. The interface connects to the computer by USB, and your encoder picks up that audio signal and sends it to your station on Zeno. The announcement microphone plugs into a second input on the same interface, so the volunteer on duty can speak between segments without touching the sound board. Set the computer up in the sound booth, close to the board, and leave it connected. Next Sunday, the volunteer only has to open the encoder and press start.
Upgrade first: a separate output from the sound board just for the stream. A mix that sounds right in a large room is often too heavy on music and too light on speech for someone listening at home on a phone. A dedicated stream mix lets your sound team balance the two without changing what the congregation hears. For the full plan, read our guide to starting a church radio station online.
School Radio: Simple, Durable and Easy to Share
Church volunteers usually run the same setup every week. In a school, the challenge is the opposite: the people on air change all the time. Students rotate through shows, advisors change from year to year and equipment gets carried between classrooms. That’s why the best school kit isn’t the most advanced one, but the one a new student can learn in a single afternoon.
- USB microphones. They plug straight into the computer with no extra hardware, so there is less to set up and less to go wrong. Dynamic models pick up less noise from a busy classroom.
- Sturdy headphones with replaceable cables, one pair for each student on air.
- A small mixer once two or three students talk at the same time, so each voice gets its own volume control.
- Labeled cables and a storage case. A strip of colored tape on each cable and one box where everything goes at the end of the day save a lot of setup time.
How it connects: With a single host, the USB microphone goes straight into the computer and the encoder uses it as its input. When a second or third student joins the show, switch to XLR or combo microphones and plug them into the small mixer. The mixer connects to the computer, and the encoder takes the full mix as one signal. A spare room, the library corner or a quiet end of the media lab works well as a studio, as long as the door closes. Keep a one-page guide taped to the desk with the steps to go live, so any student can start a show without calling the advisor.
Upgrade first: desk stands or boom arms. They keep each microphone at the same distance from each speaker, so students sound consistent from one show to the next. Our school radio station guide has program ideas, and our radio voice tips are a good handout for student hosts.
Community Radio: Room for Guests and Callers
If school radio is about many hosts taking turns, community radio is about many voices on air at once. These stations live on conversation: local guests, neighborhood news and listener calls. A typical show might have a host, two guests around the table and a caller on the line, all in the same hour. That means more inputs and more control than a solo show.
- A mixer with at least four inputs, so the host, two guests and a music source each have their own channel.
- Two or three dynamic XLR microphones. Dynamic mics focus on the voice right in front of them and reject more room noise, which helps when several people share one table.
- A way to put callers on air. Depending on your setup, that can be a phone connected to a mixer channel or a computer running a calling app. Our guide to taking live calls on internet radio covers the options and how to avoid echo.
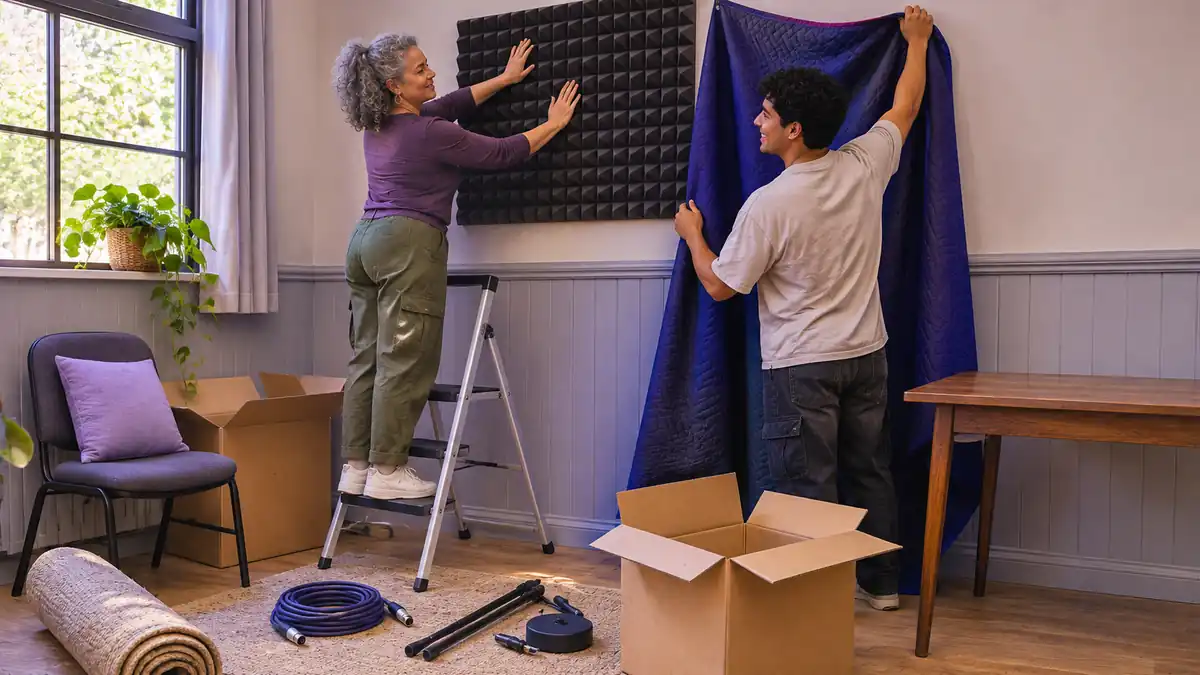
- Basic room treatment. Heavy blankets, curtains, a rug and a few foam panels make a plain room sound much closer to a studio.
How it connects: Each microphone gets its own channel on the mixer, the phone or calling computer goes into another, and the music player takes one more. The host controls every level from the mixer, so a guest who speaks softly can be turned up without touching anyone else. The main output of the mixer goes into an audio interface or straight into the computer through USB, and from there the encoder sends one finished mix to your station.
Upgrade first: treat the room before you buy a better microphone. A great mic in an echoey room still sounds echoey. And when guests are your main content, our radio interview tips help you get the most out of every conversation.
Home DJ Station: Music First, Talk Second
The last type of station turns the priorities around. For a DJ broadcasting from home, the music sets the standard and the voice comes second. Listeners will forgive a modest microphone, but they notice every rough transition and every volume jump.
- DJ software with broadcasting built in. Mixxx is free and can stream directly to your station.
- A DJ controller from brands such as Pioneer DJ, Hercules or Numark, for hands-on control of decks, faders and effects.
- Closed-back DJ headphones to cue the next track while the current one plays.
- One USB or XLR microphone for talk breaks, shout-outs and station IDs.
How it connects: The controller plugs into the computer by USB and controls the decks inside your DJ software. Your headphones go into the controller’s headphone output, so you can preview the next track while listeners hear the current one. The microphone goes into the controller’s mic input, or straight into the computer if it’s a USB model. Because Mixxx can broadcast on its own, the same software mixes the music and sends the stream, so you don’t need a separate encoder.
Upgrade first: a controller your software supports out of the box. You can map almost any controller by hand, but a supported model saves hours of setup and lets you focus on the set. For more ideas, read our guide to running a DJ radio show on a budget.
Online Radio Equipment by Station Type: Quick Comparison
Now that you’ve seen each kit in detail, here is a side-by-side view of the core gear and the first upgrade for each type of station:
| Station type | Core equipment | Upgrade first |
|---|---|---|
| Church radio | Audio interface fed by the sound board, one dynamic mic, dedicated computer | A separate stream mix from the sound board |
| School radio | USB microphones, sturdy headphones, labeled cables | Stands or boom arms for consistent sound |
| Community radio | Four-input mixer, two or three XLR mics, a call setup | Room treatment |
| Home DJ station | DJ software, controller, DJ headphones, one mic | A controller your software supports |
Connect Your Equipment to Zeno
Whichever kit you choose, the last step is the same. Your microphone, mixer or controller sends sound into the computer, and an encoder sends that sound to your station:
- Create your station on Zeno and open its broadcast settings to find your server details.
- Enter those details in your encoder, such as BUTT or Mixxx, and choose your audio format and quality.
- Connect, then listen to your own stream on a phone to check the level and the sound.
When nobody is live, AutoDJ keeps your station playing from your music and playlists, so listeners always find something on air. Our guide to software for live radio broadcasting compares popular encoders, and if something sounds off, our guide to common internet radio problems walks you through the fixes.
FAQ
Can I start an online radio station with just a laptop?
Yes. A laptop, headphones and a stable connection are enough for a music station on AutoDJ. Add a microphone when you’re ready to talk on air.
Should I choose a USB or an XLR microphone?
USB microphones are simpler because they plug straight into the computer. XLR microphones need an audio interface or a mixer, but they make it easier to add more voices later. Some models offer both connections, which gives you room to grow.
Do I need a mixer?
Only when more than one person or source is on air at the same time. A solo host with a USB microphone can broadcast without one. A mixer becomes useful once you add guests, callers or live music.
Can several shows share the same equipment?
Yes, and most small stations do. Keep a short checklist next to the gear so each host leaves the levels, cables and settings the way they found them.
Build the Kit Your Station Needs
The best online radio equipment is the kit that fits the station you actually run. A church needs to capture a service, a school needs gear that survives many hands, a community station needs room for guests and callers, and a home DJ needs control over the music. Start with the four basics, add the pieces your format needs and upgrade one step at a time as your audience grows.
When your gear is ready, create your station on Zeno and go live. New to all of this? Our guide to starting an online radio station walks you through every step.
November 4, 2026